Recently, I did a questionnaire on my Instagram Story and the #1 question I got asked was wanting to see my editing process + tips. Trust me I know your struggle, I know how difficult it is when starting out or new to the game to figure out your exact editing style and what looks the absolute BEST. I’m gonna go over 5 tips that will change the game for your editing and will help you uplevel your photos! So keep on reading, let’s get this started!
1. BOMB IMAGES:
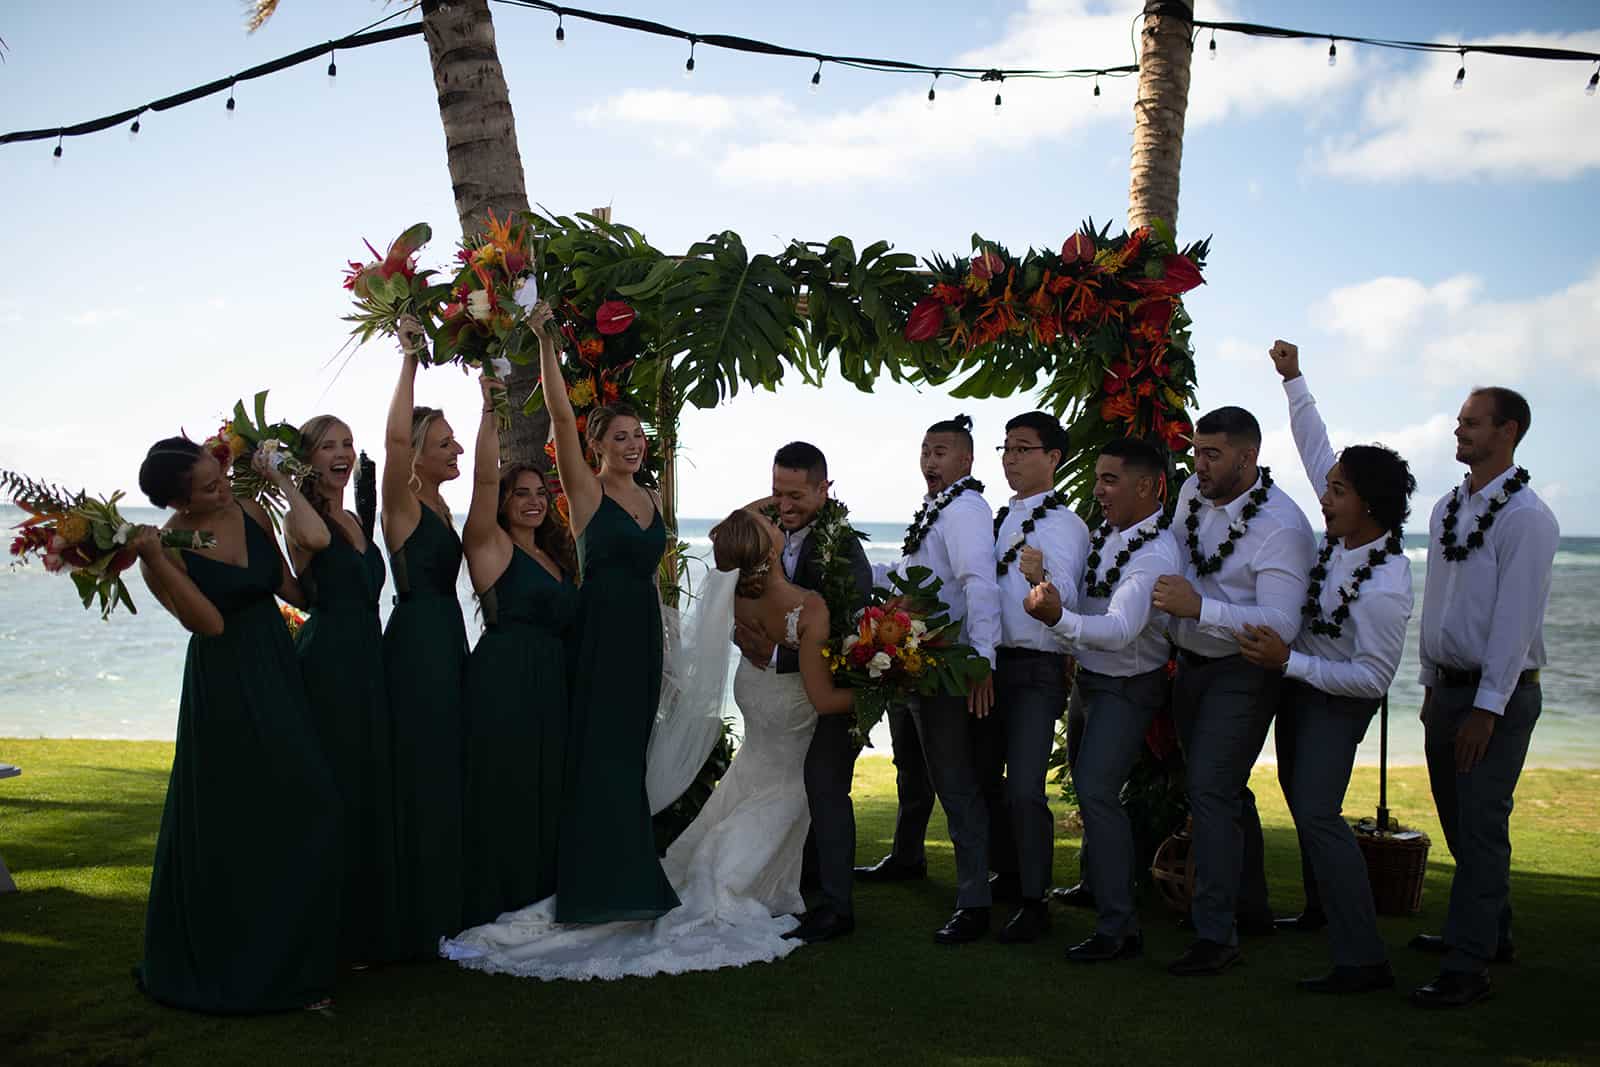
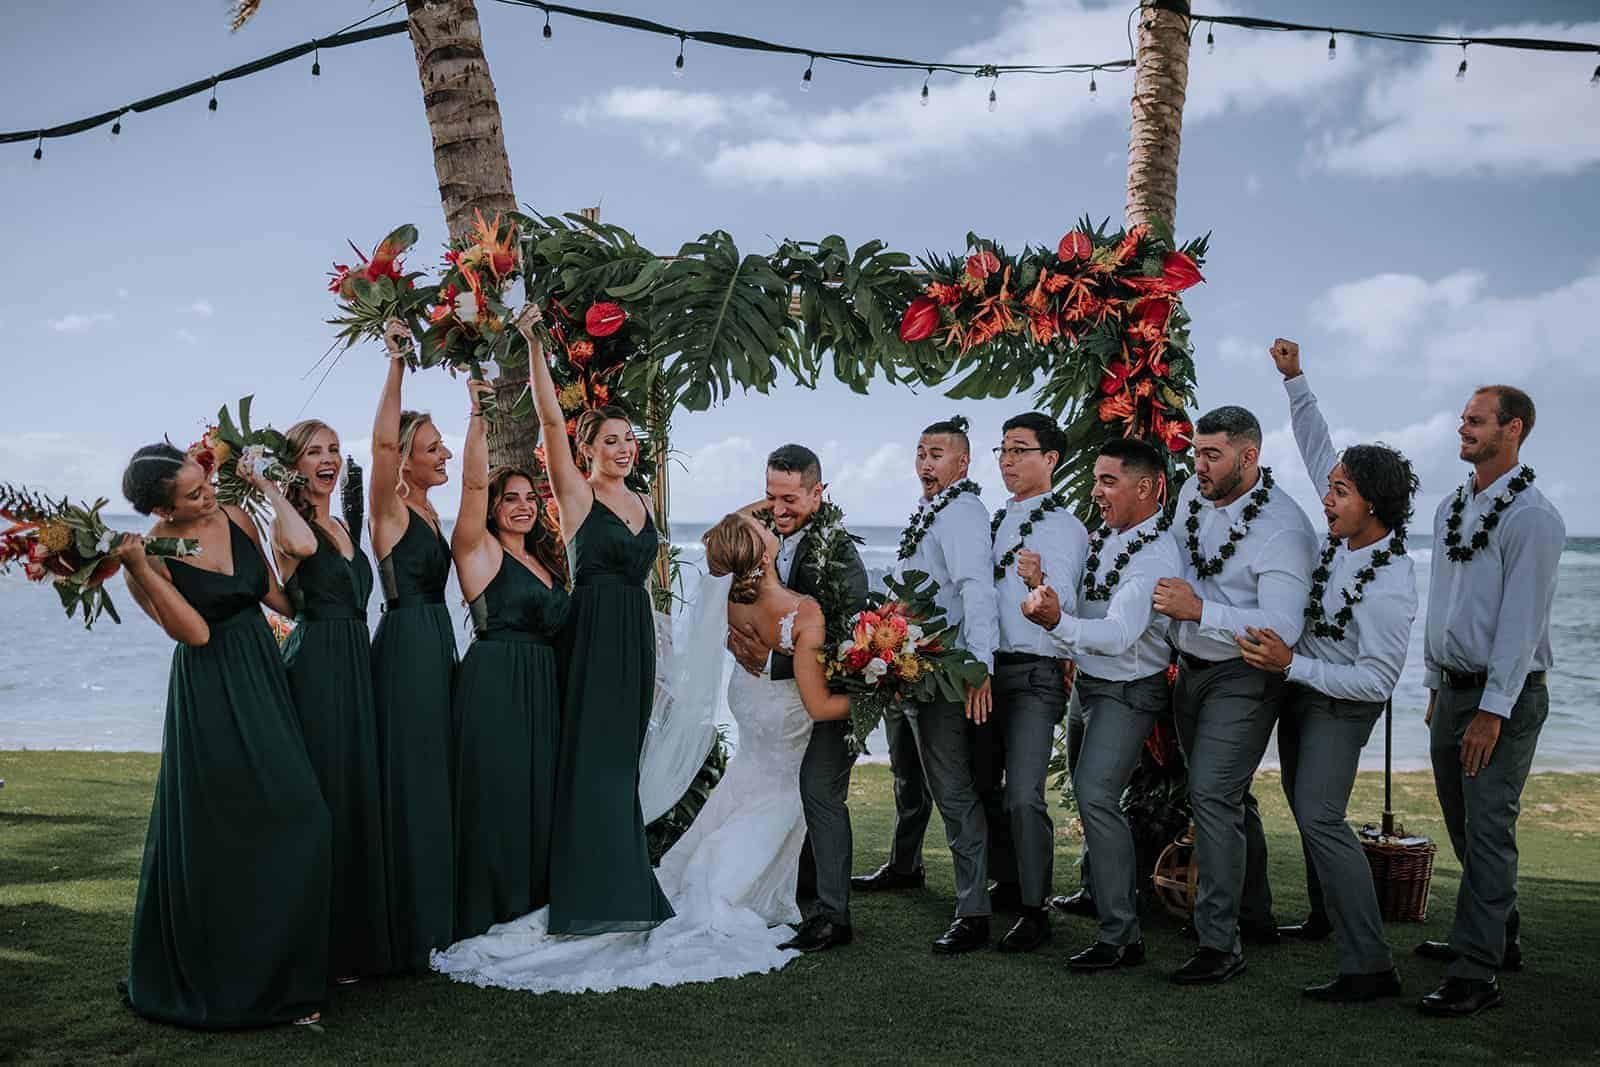
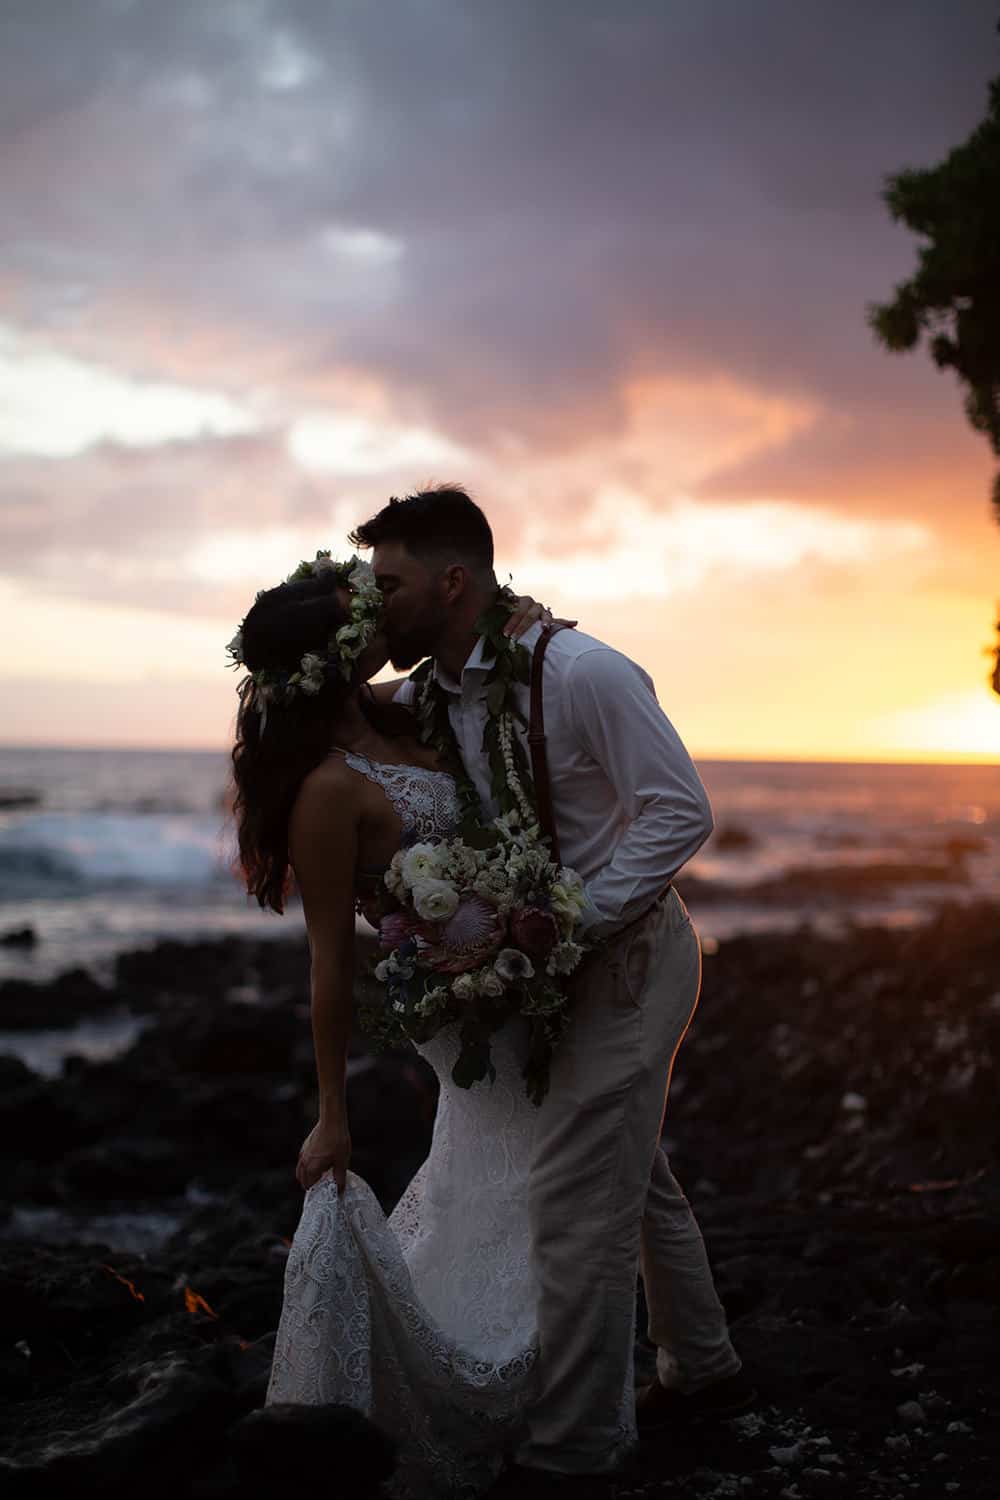
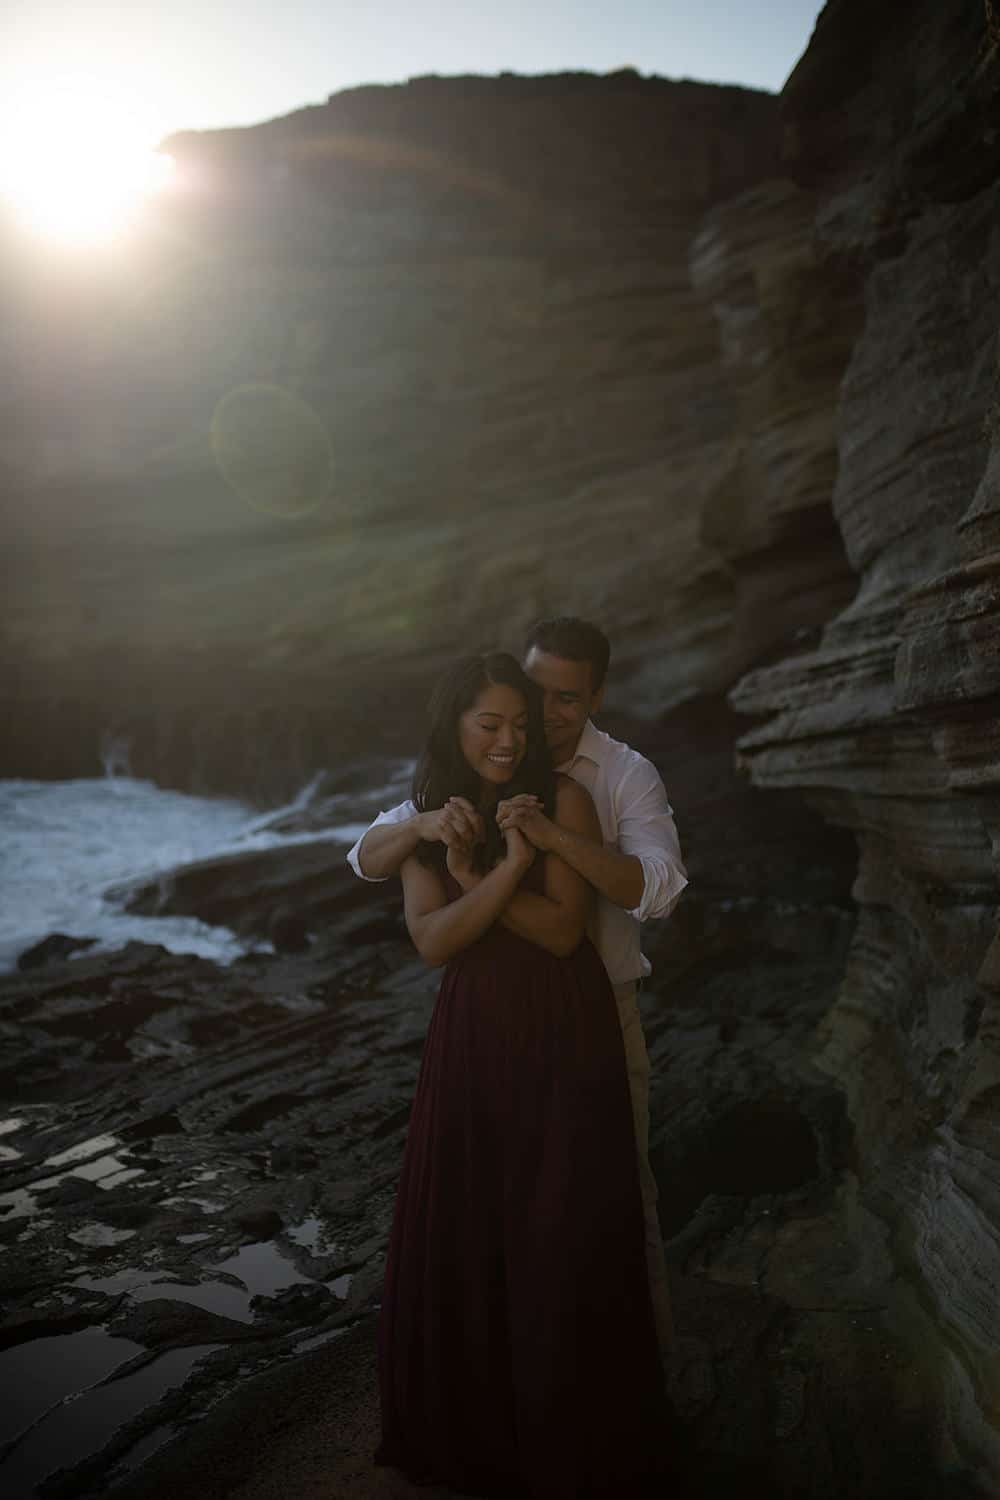
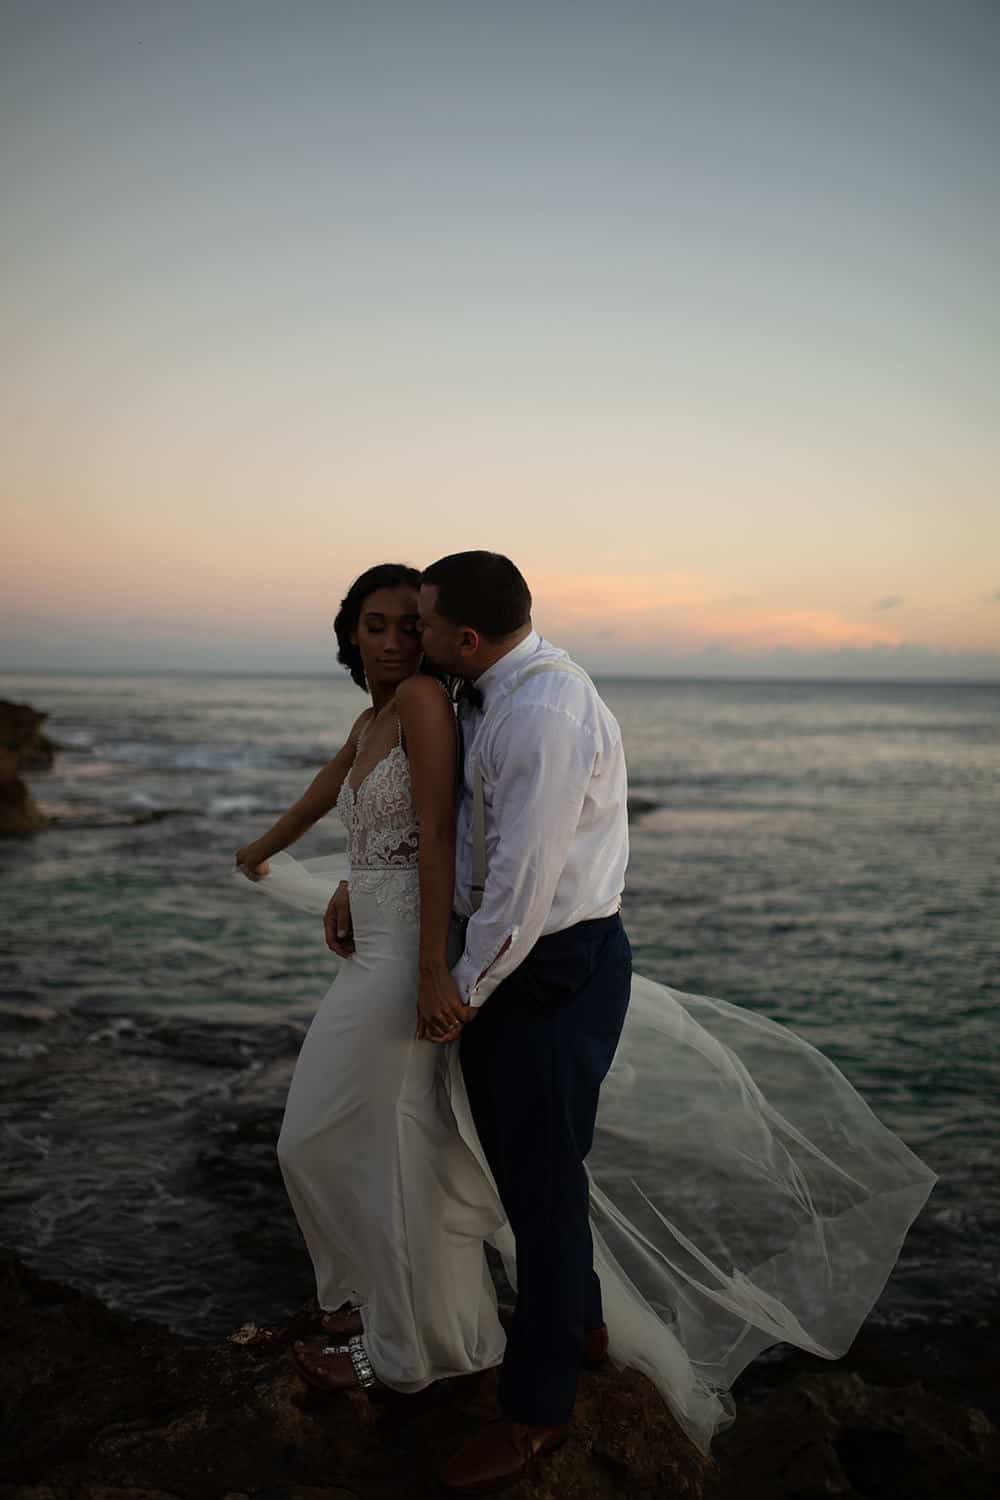
First things first. So many people tend to think well if I have a decent image I can just fix it in Lightroom or Photoshop and it will turn out amazing, NO. That is not the case at all. To start editing you need to START with an amazing photo! Not only will it make your editing 10x better but it will make it 10x FASTER because you’re not trying to fix flaws and compensate for a bad photo. #1 TIP if you take away anything please take away the fact that you need to start with an AMAZING photo. To get that amazing photo you need to take photos at the prime time sunrise or sunset depending on the time of the year. You need visually appealing colors + subjects that match with the scenery. You also need to underexpose the photo so that you can save all the details in your photo and not blow it out. Got that?! OKAY GOOD!
2. WORKFLOW:
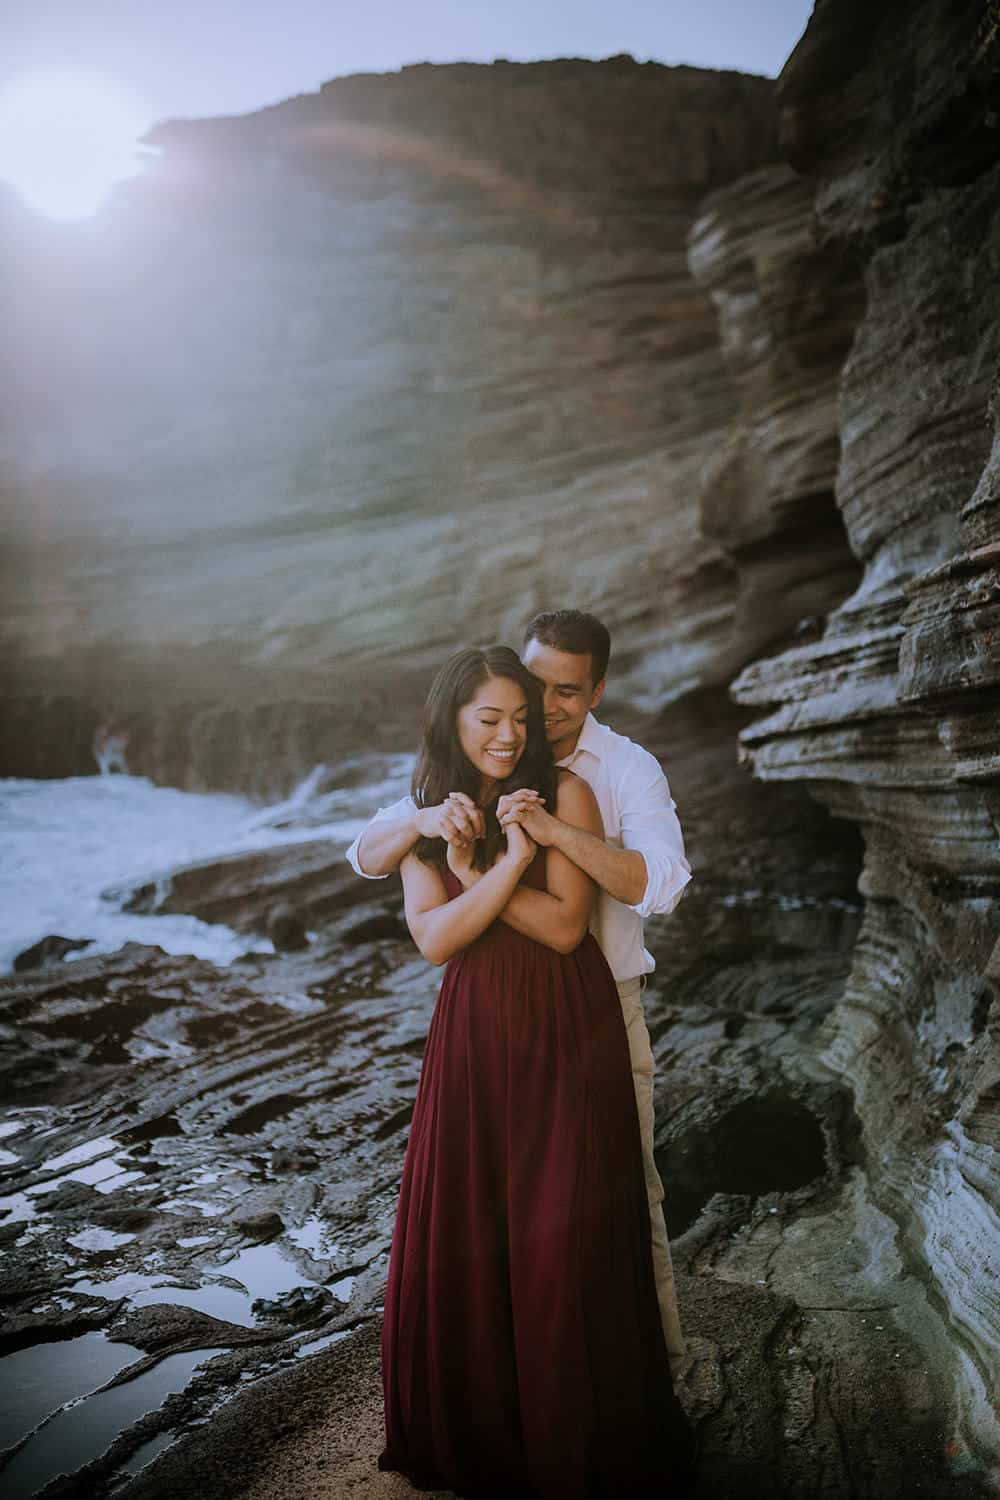
Once you’ve taken your AMAZING drop dead gorgeous photo let’s go on to quality and workflow. Are you making sure it’s taken in RAW?!! Please please please make sure your photo is taken in Raw Format to save and edit. I HIGHLY suggest using Lightroom to edit all your photos vs. Photoshop. Everyone has a preference but I prefer Lightroom because it is faster, it has almost all the options Photoshop has but doesn’t get into the nit picky things that take up a LOT more time. Once you import your raw photos to Lightroom be sure that you have a few presets you LOVE to work with. My suggestions of good companies/brands that sell presets are: India Earl Presets , Dawn Charles Presets , Rooke & Rover crew. These are a few I highly recommend in the meantime and I will be LAUNCHING my presets in the new year 2020 so STAY TUNED! Anyways, once you have a preset you absolutely love, apply it to your image and tweak to your exact style/aesthetic. I cannot suggest this enough: find YOUR style, a consistent style, something that speaks VOLUMES to you and something that represents YOUR BRAND. Presets are there to help you as a starter and a base but you really need to fiddle with them until you come up with what you absolutely LOVE and is your own.
3. TOOLS:
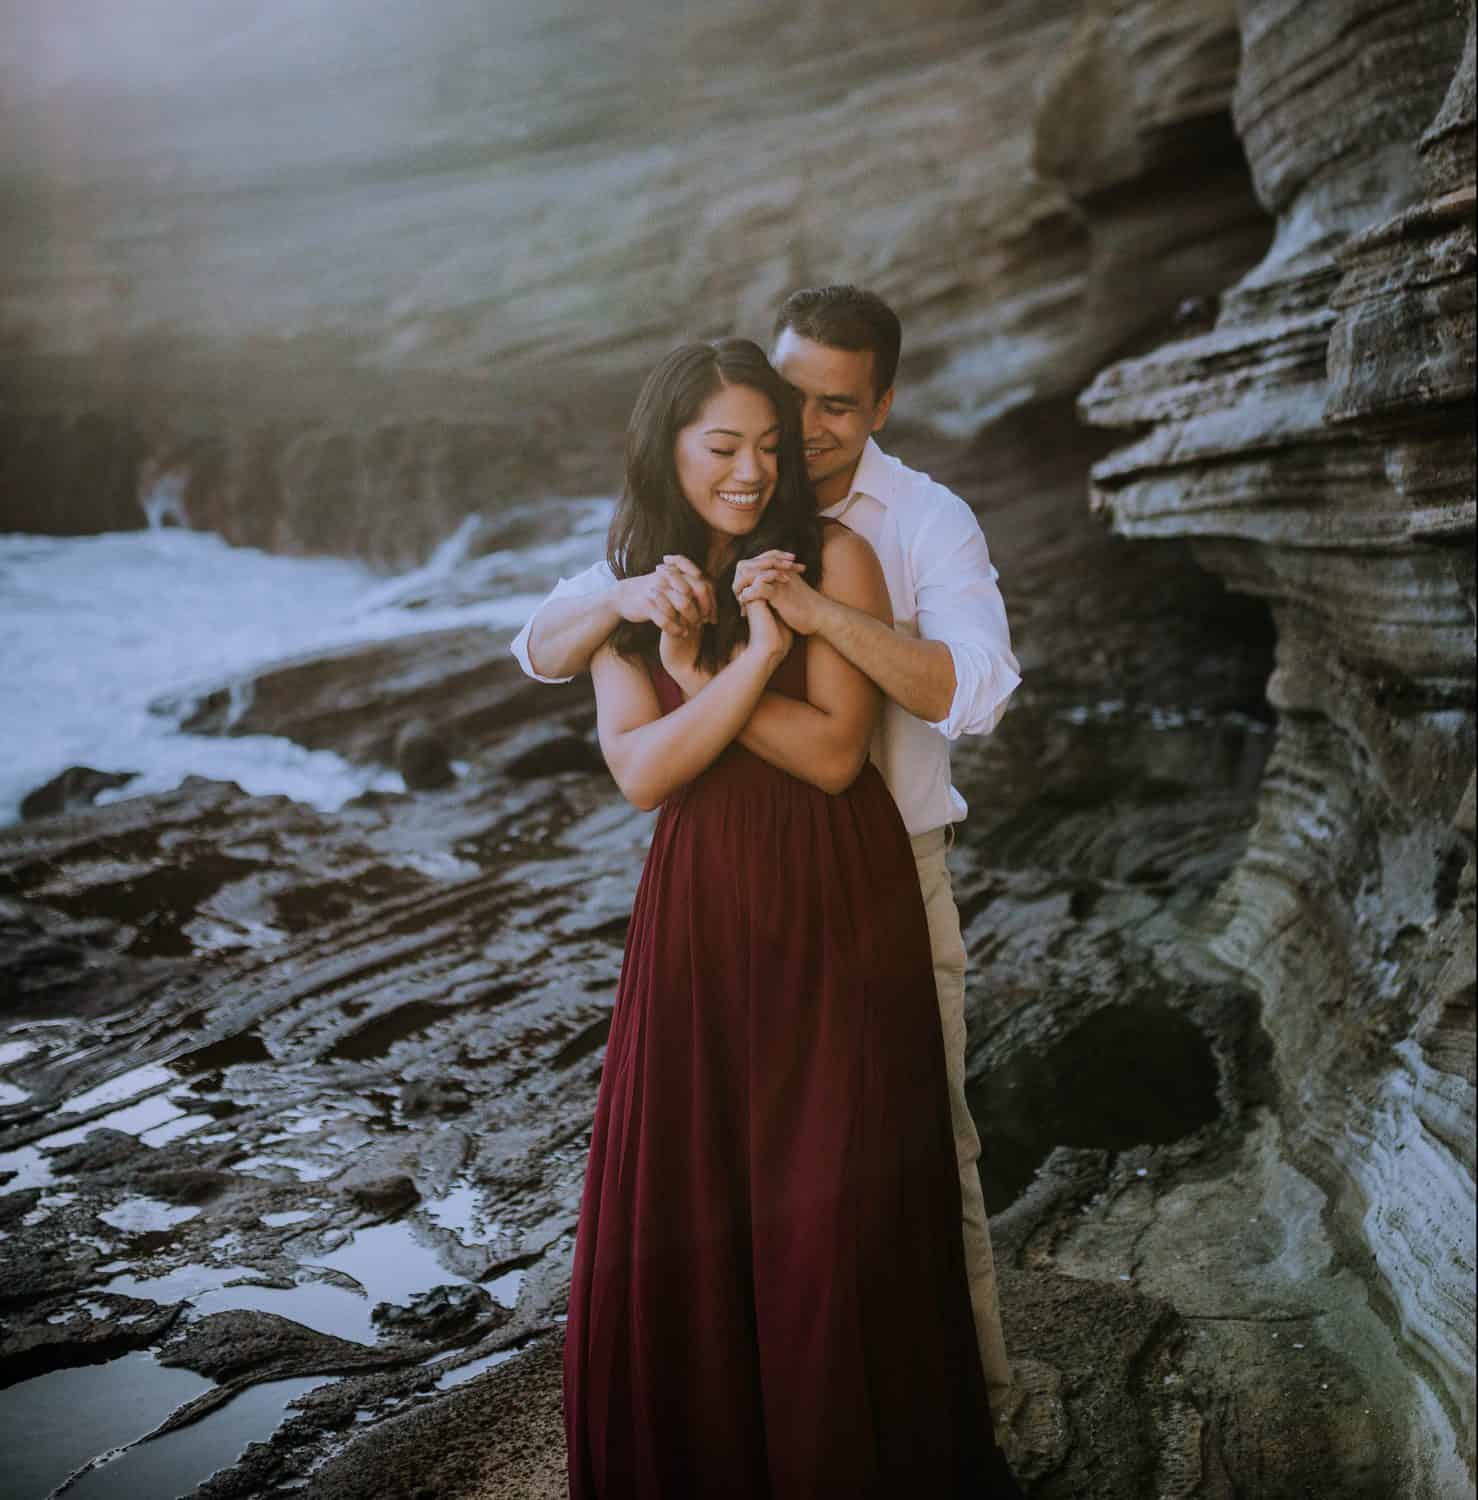
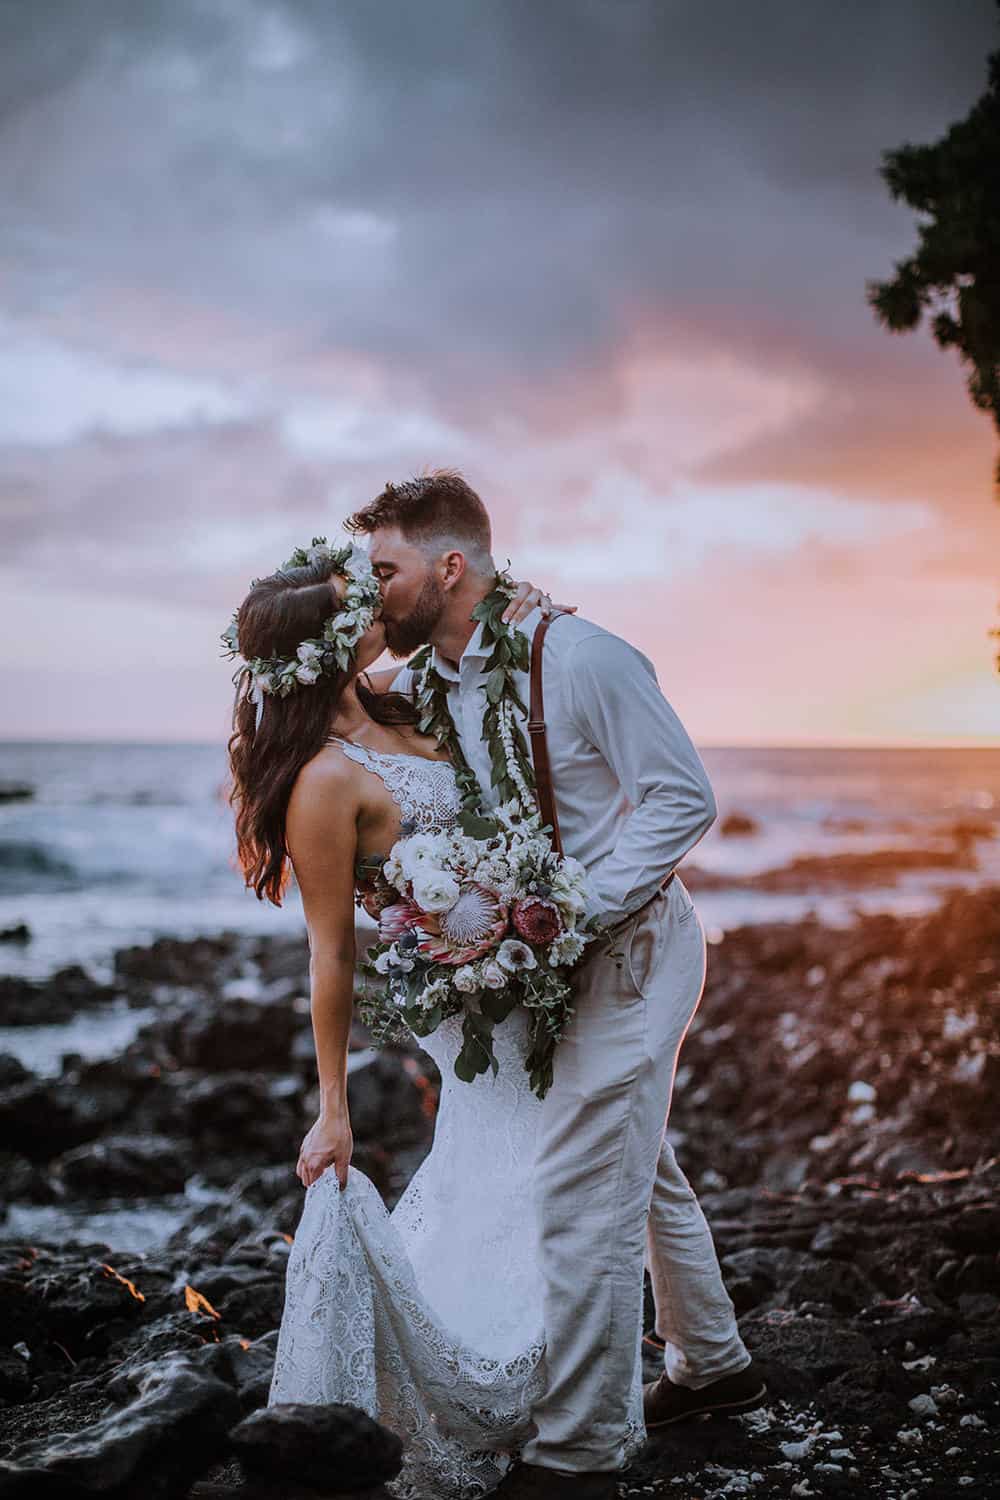
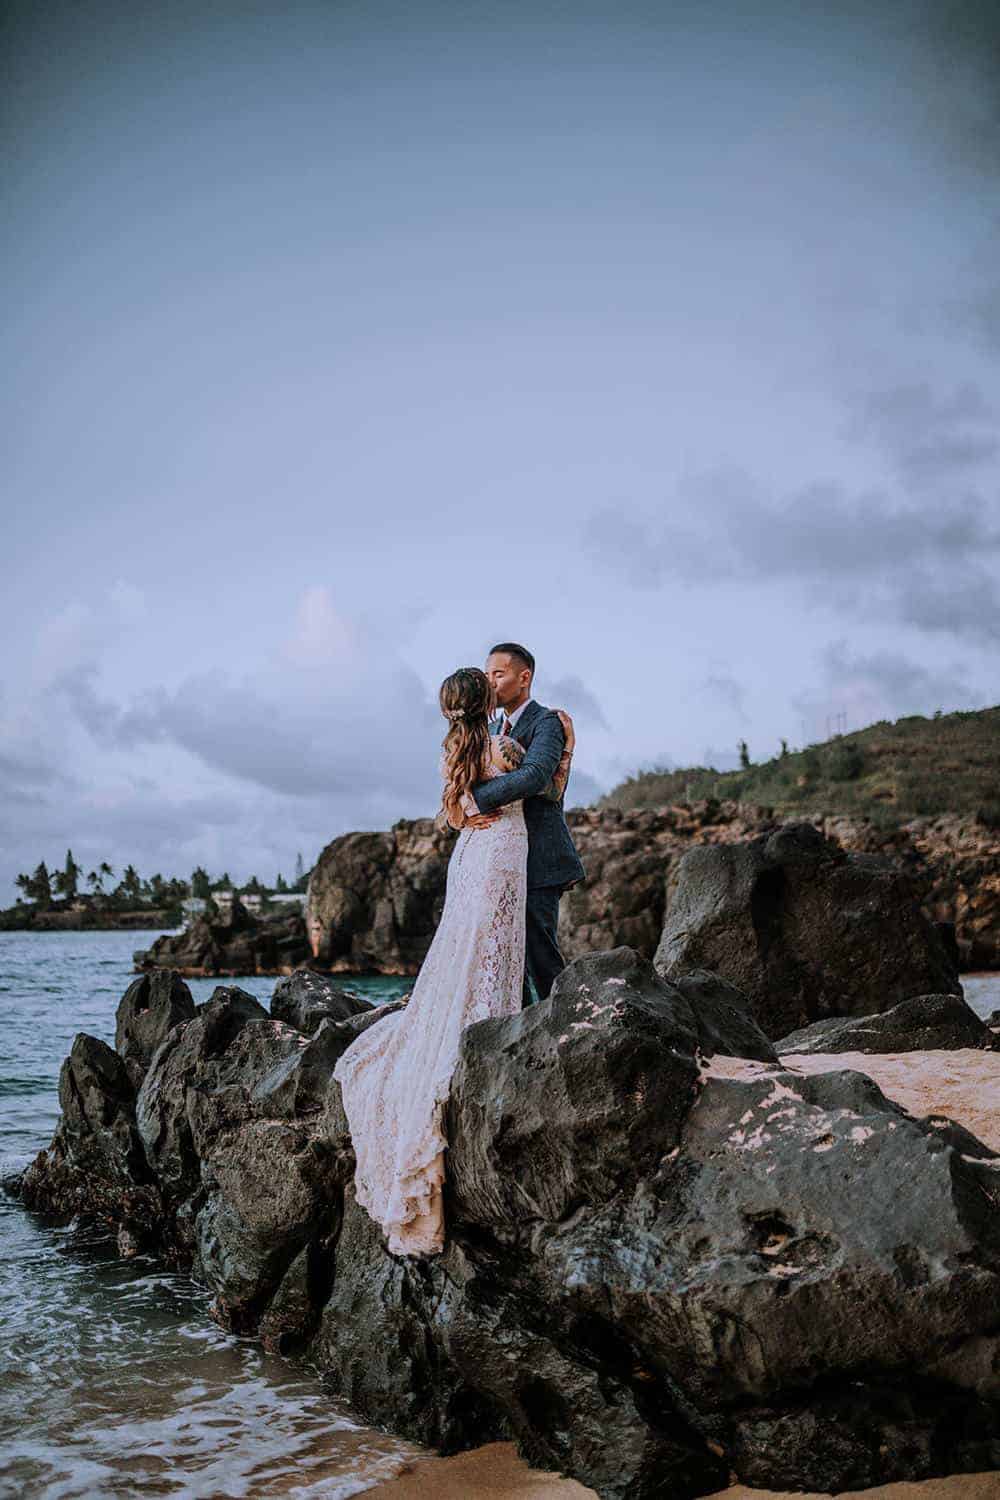
You’ve got your AMAZING photo, you’ve got your LIFE CHANGING presets + workflow now what?! I’m going to let you in on the freaking AMAZING tools in Lightroom that will be a GAME CHANGER in the editing process. The main things I tweak in my images go in this order: Exposure, Contrast, Whites, Blacks, Split Toning and lastly HSL/Color IF needed. Typically I will bring up the exposure, fiddle with the contrast until it’s in a sweet spot. Then I will go over and make sure the whites are white and the blacks are black. You want to save all the details and really emphasize the difference in color toning and not make every detail of the photo look the SAME. You want parts in your photo to stand out- such as the mountains in the background, the outlining of your couples face, their hair, the lush greenery or crashing waves. You want to pull that out of the photo and this is how. Then split toning has to do with the coloring of your entire image. Move those sliders until it is exactly what you want and last but not least HSL/Color if their skin tone is off or the background this is where you need to TWEAK. Click on Hue Saturation or Luminance with the HSL sliders and drag it to your image, move your mouse up and down to see how the coloring and skin tone changes and adjust to the SWEET SPOT.
4. PRECISE:
Once you’ve edited your SWEET PHOTO let’s get to being precise and making sure that photo is next level and perfect for sharing, printing, posting and more! You can always tell a rooke mistake by the fact that an image is completely crooked. You know where the sunset looks like its sideways and the mountains look like their falling sideways instead of standing still?! YES THAT. Before your done always check the Horizontal & Vertical lines. It is the tool at the very top left of Lightroom you click on it and make sure that the lines match up with your sunset or mountains or whatever you may be shooting make sure they are in a perfect line across the photo and that they aren’t crooked at all.
5. EXPORT:
Alright!! We have gone over how to first get an AMAZING photo, we’ve gone over the workflow, tools and being precise to get a drop dead gorgeous PHOTO! Last but not least we will chat about exporting! At the bottom of lightroom it will show you a preview of all your images edited and unedited. Within the edited photos that you want to export you click on the top right corner and that will send it to “QUICK COLLECTION”. This is where you can save all your edited photos that you want exported. Select all the edited photos in quick collection and go to file-export-save to specific folder within your Laptop/Desktop. THAT’S IT! From there you can add it to your client gallery of choice or airdrop it to your phone to post immediately!
Pin for later
Author:
Comments